Creating Accounts

How do I create accounts using Account Manager?


Note

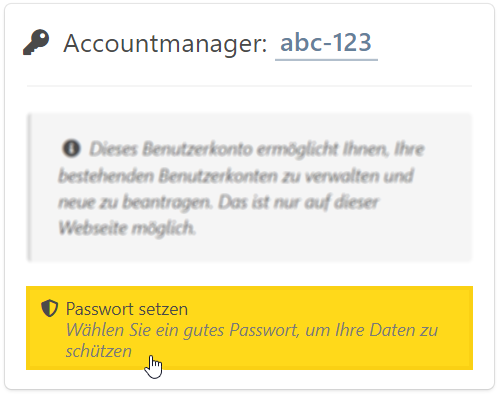
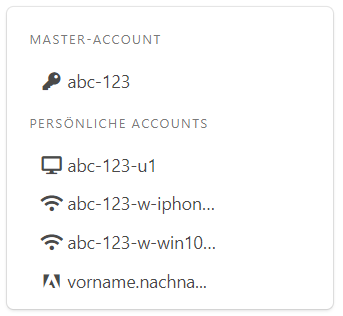
For all new students and staff at the Hochschule Hannover (Hanover University of Applied Sciences and Arts), a user ID, called a master account, is set up after enrolment/hiring. This is used to assign and manage further user accounts.

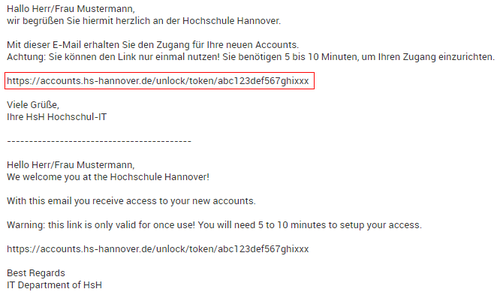
The students/employees automatically receive an automated email at the beginning of the semester/the start of their work.

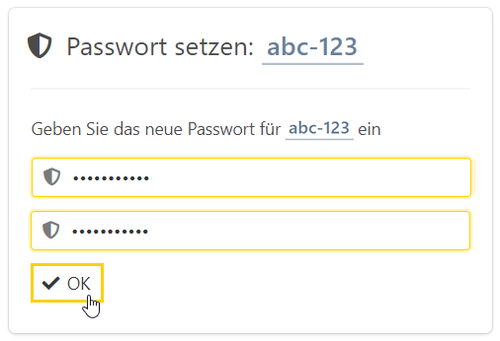
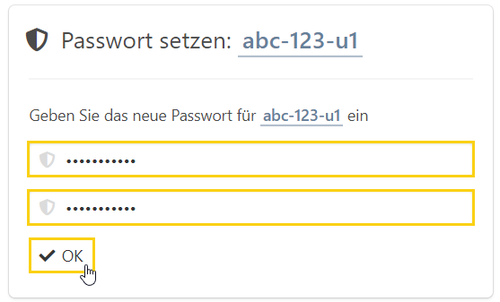
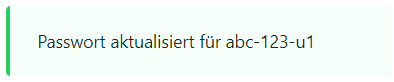
This contains a link to activate the master account, to assign your password for the first time and to activate your university account and to assign a password for this as well.

Information

What does the university account contain?

  • Email address
  • 5 GB memory on the server
  • Access to all public computers
  • Access to the university WiFi network

How long is the university account valid?

Note! The university account will be deactivated two weeks after exmatriculation and thus also the following functions:

  • Email address
  • Access to all public computers
  • Access to the university WiFi network

Attention: Please remember to back up your data in advance.


Creating a master account and a user account

  1. Click on the link (marked in red) from the Welcome Mail.
10de-it-account-mail.png

Note! After opening the Account manager, you have 20 minutes to set up your accounts. You can see the time at top-right next to the Logout button.

  1. After reading the linked user rules and privacy policy, confirm the two checkboxes and click OK.

accountmanager-01.png

  1. Click on the yellow pulsating field Activate.

accountmanager-02.png

  1. Read the info text displayed to you and then confirm the two checkboxes. Now click on Next.
accountmanager-03.png

  1. Click on Set password to set a password for your master account.
accountmanager-04.png

  1. Now set the new password for your master account and click on OK.
accountmanager-05.png

  1. A green message confirms the setting of the new password.
accountmanager-06.png

  1. A user account will then be created for you. You can find it on the left side below Personal account.

accountmanager-07.png

  1. Click on Activate in this case as well.
accountmanager-08.png

  1. Click on Next.
accountmanager-09.png

  1. Now click on the yellow pulsating field Set password.
accountmanager-10.png

  1. Now set a password for your personal account as well and click on OK.
accountmanager-11.png

  1. If the password change was successful, this will be confirmed again with a green success message.
accountmanager-12.png

  1. You will see an overview of your accounts on the left side.
accountmanager-14.png

  1. The setup of your master account and user account is now complete.
Last modified: Feb. 17, 2022